


Video filters
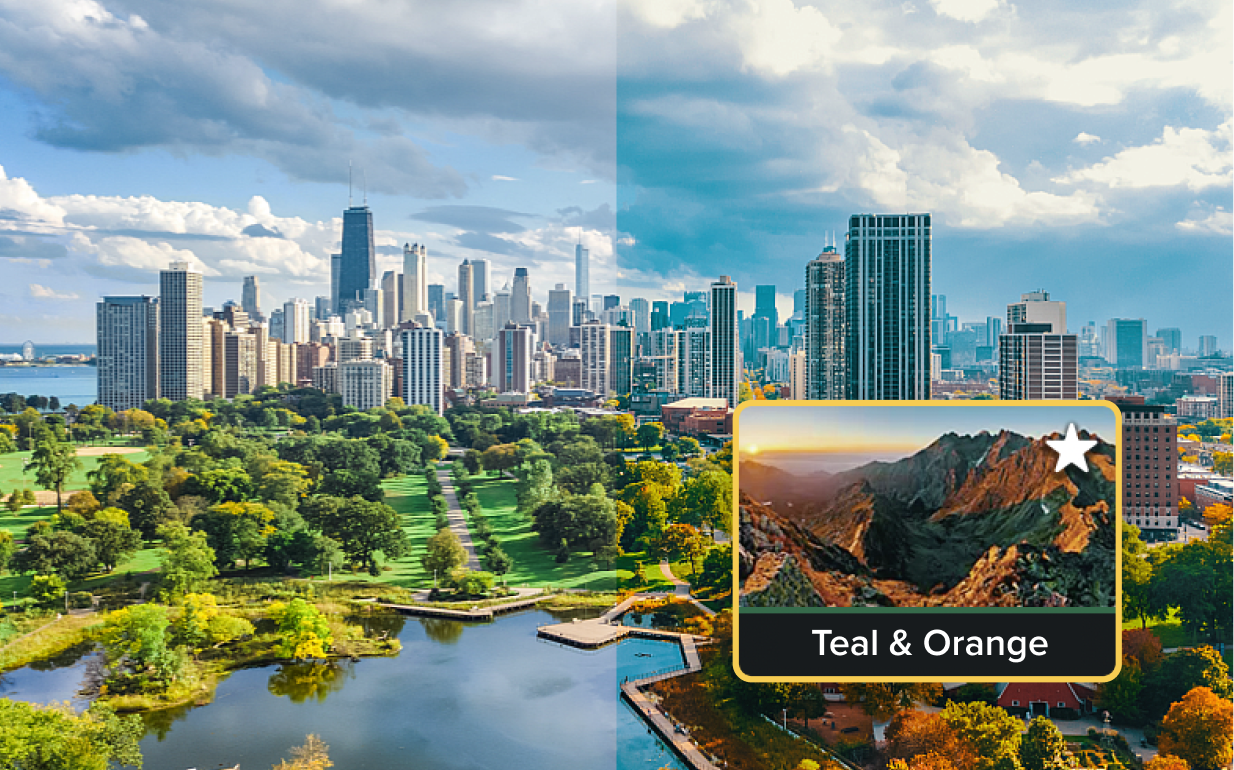
Adding video filters is one of the easiest ways to transform the look and feel of your content, making it more engaging and visually appealing. Camtasia offers a curated selection of high-quality filters and visual effects.
How to add filters to videos
Applying filters to your videos in Camtasia is quick and easy. Follow these three simple steps:
1
Step 1: Import your video and select a filter
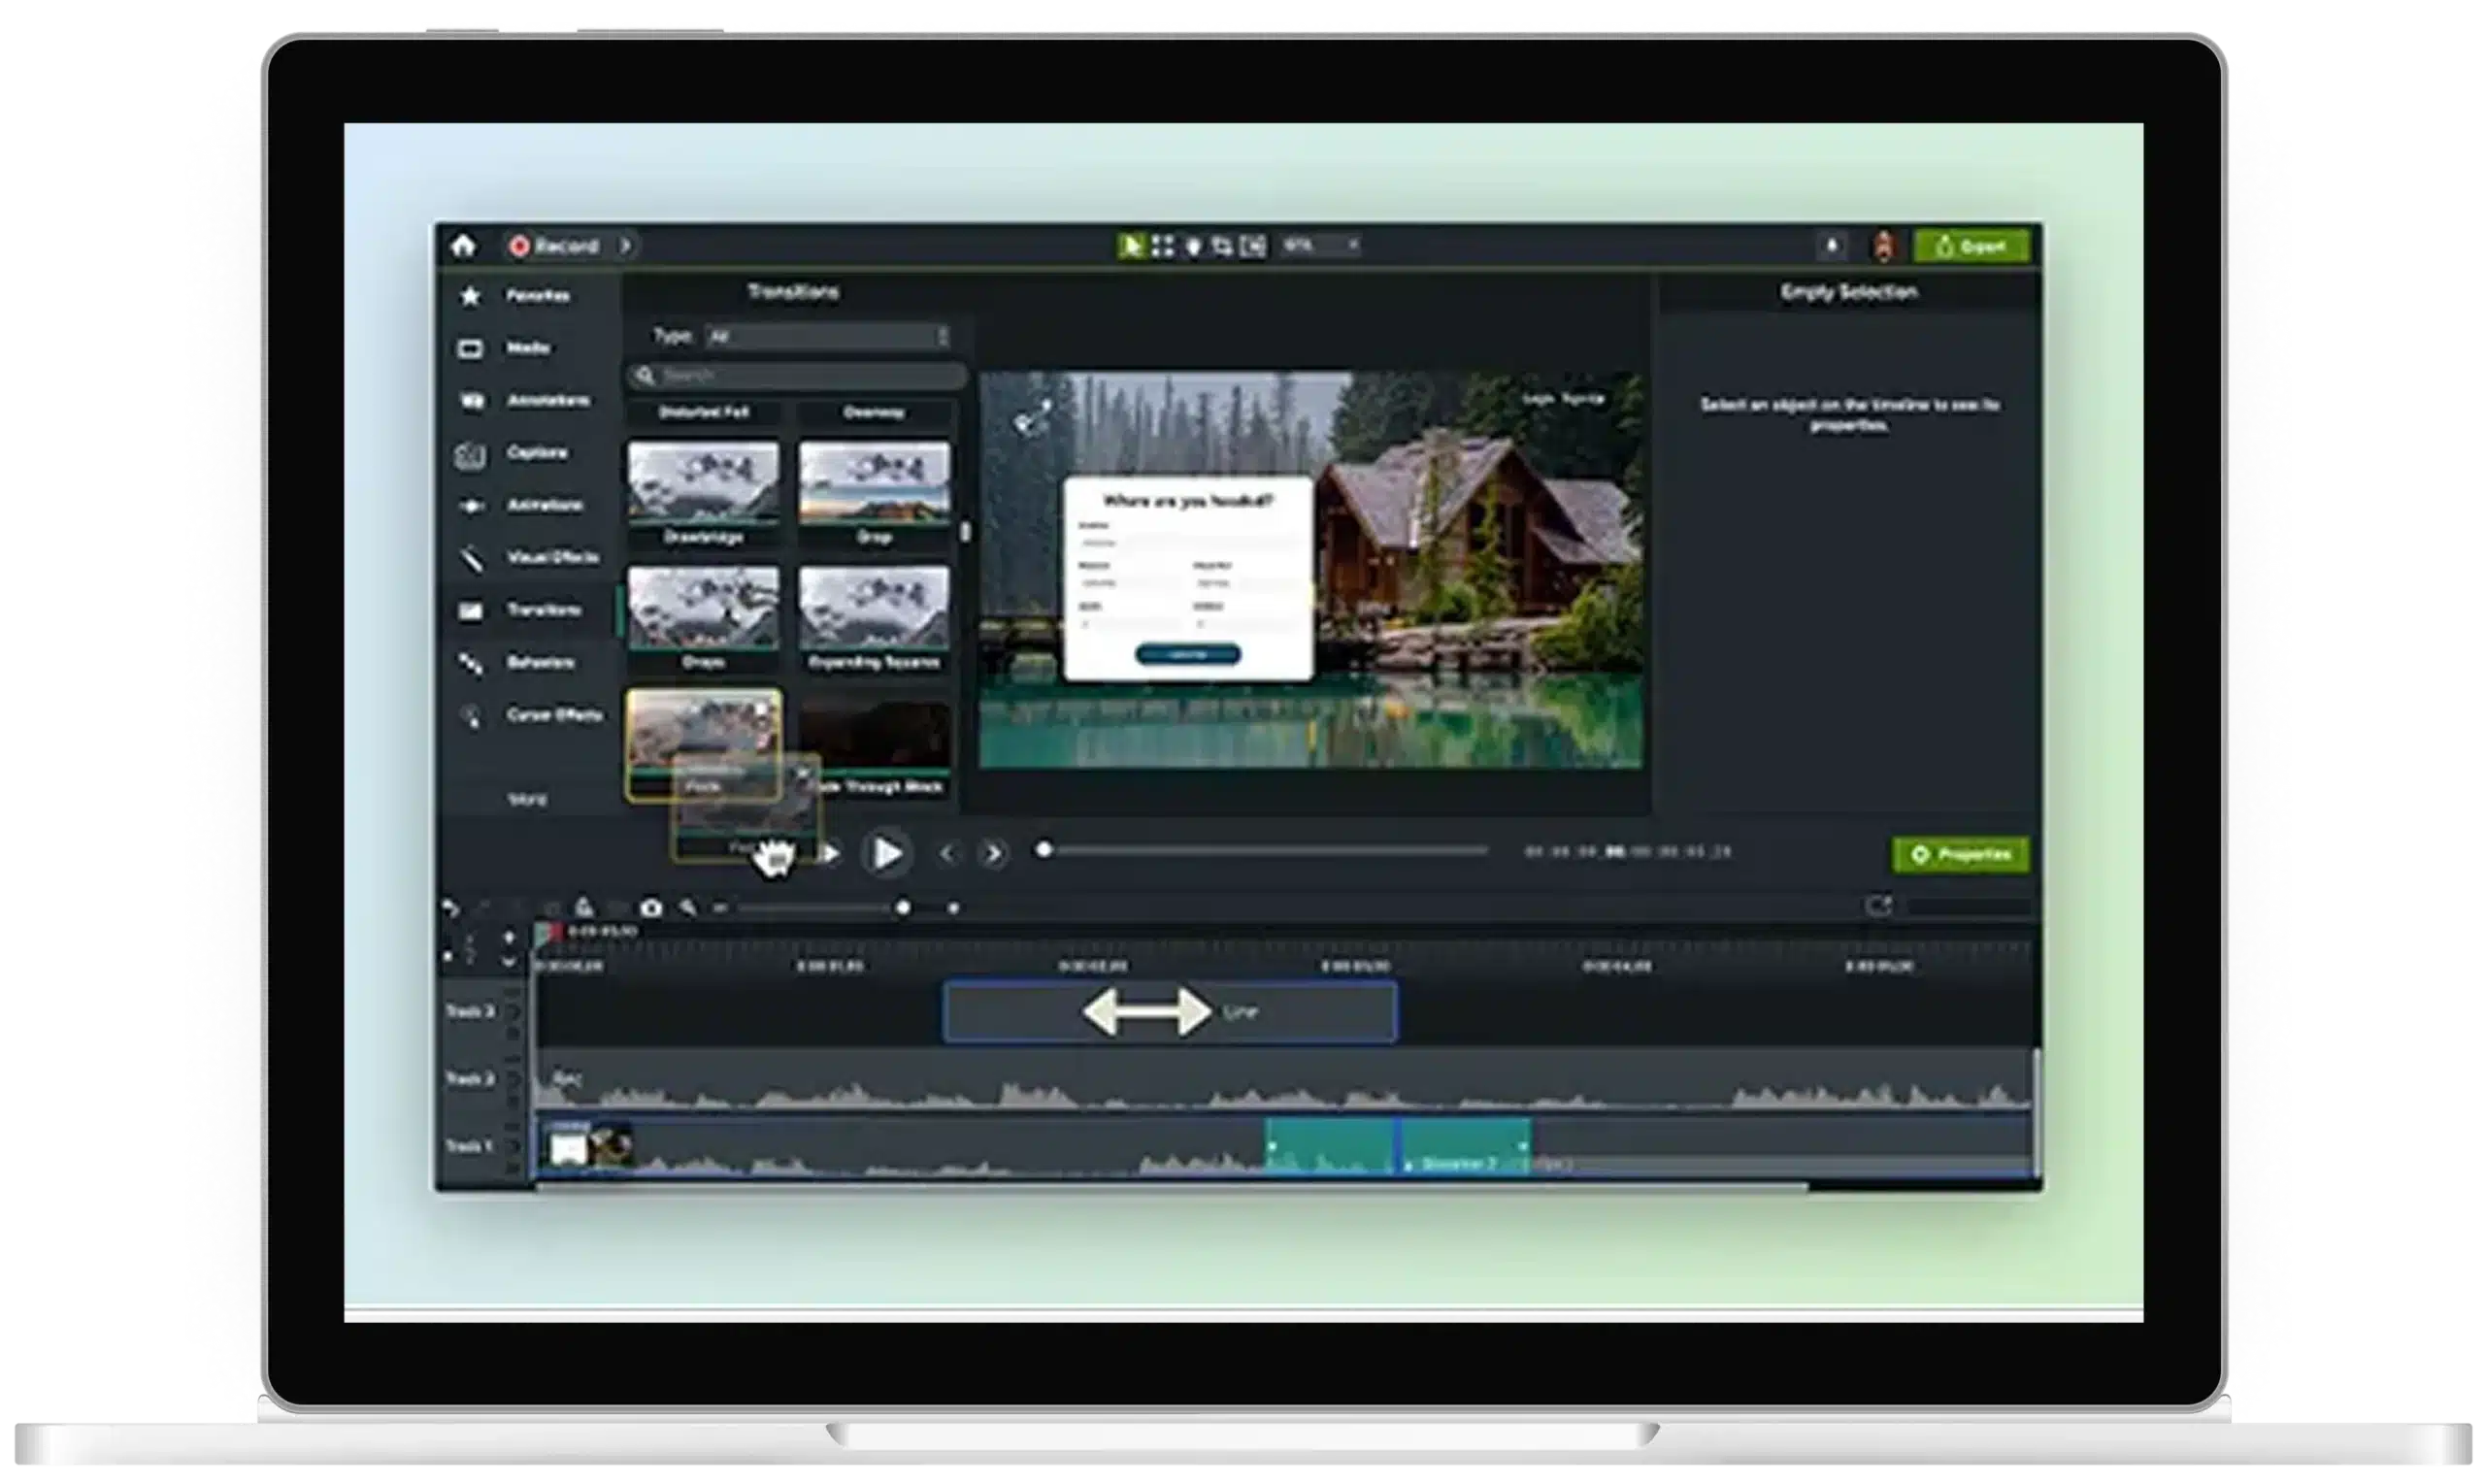
Start by importing your video into Camtasia’s video editor and dragging it onto the timeline. Next, navigate to the “Visual Effects” panel to explore the available filters. Choose the one that best suits the mood or style you want to create.
2
Step 2: Drag and drop the filter onto your video
Once you’ve selected a filter, simply drag and drop it onto your video clip in the timeline. Camtasia will instantly apply the effect, and you’ll be able to see how it changes the look and feel of your content.
3
Step 3: Customize the filter settings
After applying the filter, you can further customize its properties. Camtasia allows you to adjust intensity, color, and other settings to match your creative vision. You can even animate certain parameters over time for more dynamic effects. Once you’re satisfied, preview your changes and export the final video.
Camtasia’s filters take videos to another level
Camtasia’s video filters offer several key benefits, making it the ideal tool for enhancing your video content.
High-performance filters and effects
Camtasia’s visual effects leverage the full power of your machine’s GPU, ensuring smooth performance while applying filters. This means you can work faster and see real-time previews of your adjustments without any lag.
Customizable and dynamic effects
Every filter in Camtasia can be customized to suit your project’s needs. You can adjust parameters such as brightness, contrast, and color intensity. Additionally, certain filters can be animated over time, adding motion and creativity to your videos.
Professional and engaging content
Filters can dramatically change the tone of a video, making it more visually appealing and professional. Whether you’re highlighting key moments, focusing attention, or creating a specific mood, Camtasia’s filters help you engage your viewers and keep them watching.
Get started with Camtasia Editor
FAQ
Simply drag your video onto the timeline, navigate to the “Visual Effects” panel, and drag and drop your chosen video effect onto the clip.
Yes, every filter in Camtasia can be customized. You can adjust parameters like brightness, contrast, color intensity, and even animate certain effects over time.
No, Camtasia’s filters utilize your machine’s GPU for high performance, ensuring smooth editing and real-time previews without slowing down your workflow.
Yes! Camtasia allows you to layer multiple filters and effects on a single clip, giving you complete creative control over your video’s final look.
Camtasia offers a curated selection of high-quality filters, including options like Classic Black and White, Blue Pop, and Citrus.
Yes, certain parameters within the filters can be animated over time, allowing you to create dynamic effects that change throughout the video.
Yes! Although Camtasia is a video editor, you can still upload images and put a filter on them, ready to post on social media! Make your videos and images black and white, up the contrast, and share those videos online.
Check out our tutorial that will walk you through everything you need to know.
Still can’t find what you need? Contact us and we’ll help you out.