


Magnify image
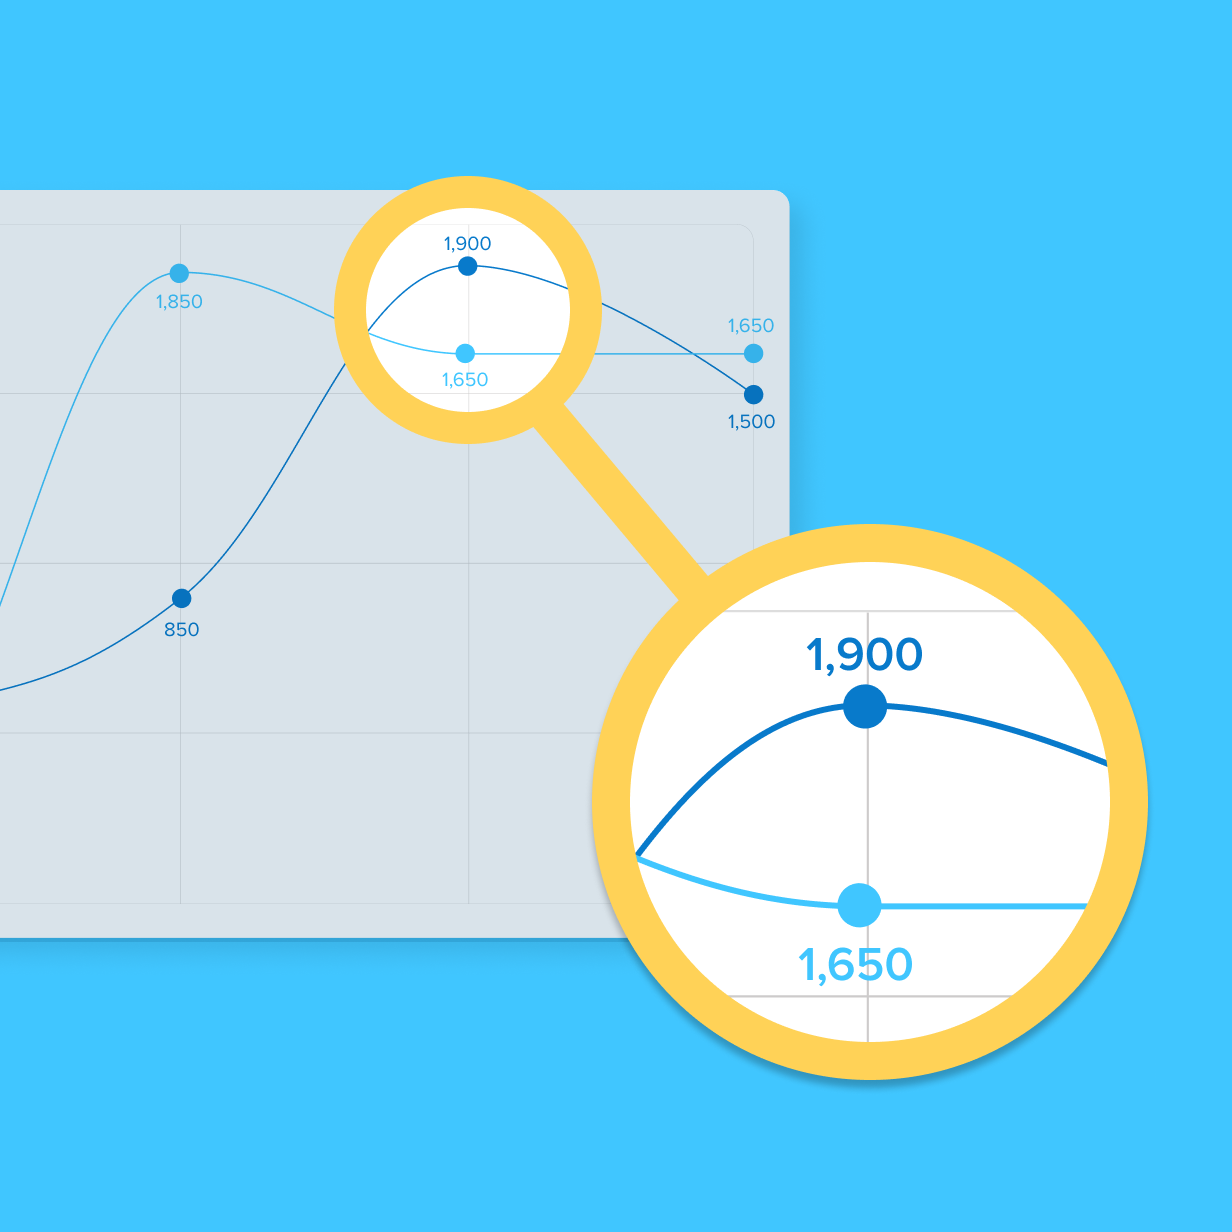
Magnifying an image is a great way to focus on important details while still providing the full context of the visual. Snagit’s Magnify tool makes it easy to zoom in on specific areas of an image, allowing you to highlight key elements without losing the bigger picture.
How to magnify an image
Magnifying an image with Snagit is simple. Follow these three steps to zoom in and highlight important details:
1
Step 1: Open the Magnify tool
Start by screenshotting an image with Snagit or opening your image in Snagit’s editor. Then, select the Magnify tool from the toolbar. This will allow you to choose the area you want to magnify.
2
Step 2: Adjust the area and style
Click and drag on the image to select the area you want to magnify. You can customize the shape (circle, square, or rectangle) and adjust the zoom level on the specific detail you want to highlight. You can also modify the border color and thickness to make the magnified area stand out or match your brand guidelines.
3
Step 3: Apply and save your magnified image
Once you’re happy with the magnified area, save your image. You can use the magnified image for documentation, presentations, or any project where you need to draw attention to specific details while keeping the larger context.
Magnify your images easily and precisely
Snagit offers several key benefits that make it the best tool for magnifying images, whether you’re working on tutorials, technical documentation, or product showcases.
Flexible magnify options
Snagit’s Magnify tool allows you to easily adjust the shape and size of the magnified area. Whether you prefer circles, squares, or rectangles (with or without rounded corners), Snagit gives you the flexibility to match the magnified area to the look and feel of your project.
Customize styles for a professional look
With Snagit, you can customize the border color and thickness of the magnified area to make it stand out or blend seamlessly with your image. This ensures that your magnified visuals are professional, on-brand, and eye-catching.
Efficiently show context and detail
Magnifying images with Snagit allows you to provide both the full context of the image and zoom in on specific details. This makes it easier for your audience to understand complex diagrams, products, or technical elements without missing important information.
Get started with Camtasia Snagit
FAQ
Yes, Snagit allows you to easily adjust the level, so you can zoom in on specific details while maintaining the clarity of the image.
Snagit offers various shapes for the magnified area, including circles, squares, and rectangles. You can choose the one that best fits your design or project needs. You can even round the corners of your rectangle to fit your image best.
Absolutely! Snagit allows you to customize the color and thickness of the border, ensuring it complements the rest of your image or matches your brand guidelines. You can also save your preferred magnifying option so you can easily reuse it.
Yes, you can apply multiple magnified areas within a single image, making it easy to highlight several key details without losing the overall context. For example, you can highlight different areas on a graph to show the progression.
Yes! Once you’ve applied the magnification to part of your image, click the magnified area to select it. Then click and drag the magnified area to another part of your image to reveal the original version underneath. Both the original and the zoomed-in versions are now visible in your image for context or comparison.
Yes! Snagit’s Magnify tool is perfect for creating product documentation where you need to highlight specific features or details while keeping the broader context visible.
Yes, Snagit allows you to easily undo or adjust the effect, giving you full control over how the final image looks.
Check out our tutorial that will walk you through everything you need to know.
Still can’t find what you need? Contact us and we’ll help you out.